Learn scenery rangoli in 5 easy steps
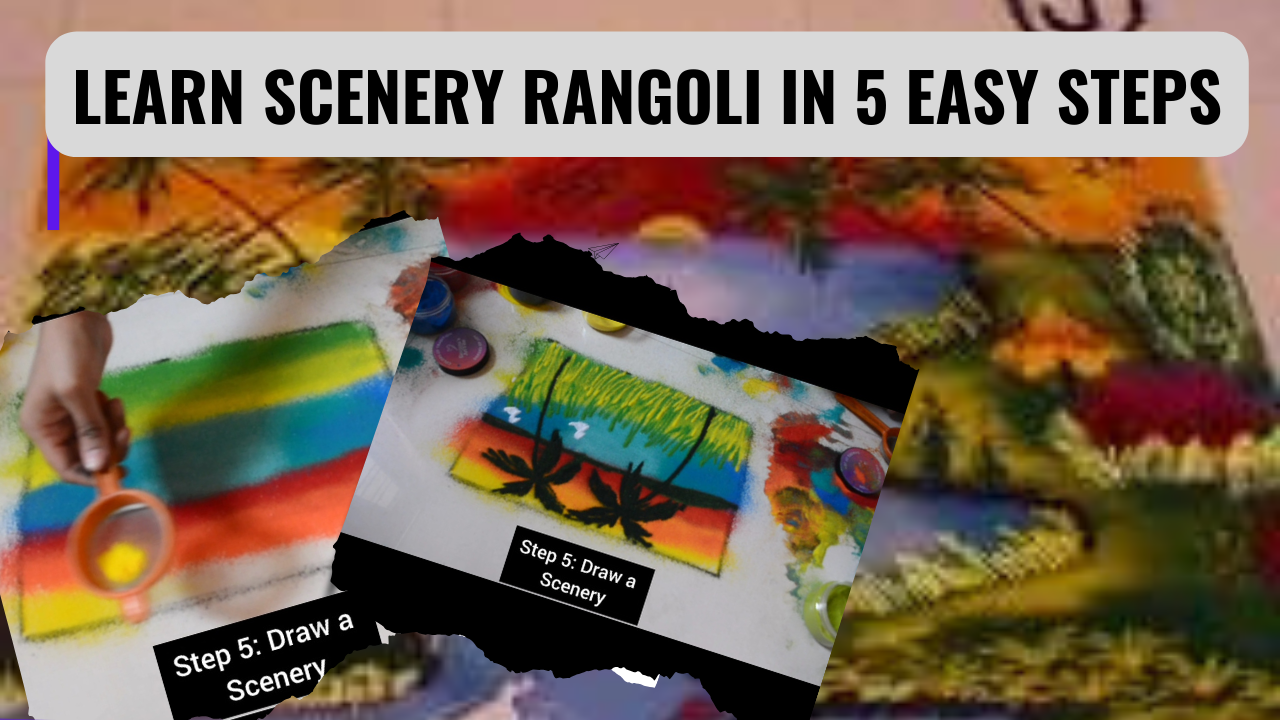
How to Draw a Beautiful Scenery Rangoli: A Step-by-Step Guide
Rangoli is a traditional Indian art form that transforms floors into colorful expressions of joy, especially during festivals and celebrations. While most people are familiar with floral or geometric rangoli designs, there’s something especially enchanting about creating a scenic rangoli—a vivid natural landscape rendered with vibrant colors and simple artistry. This guide will walk you through the process of drawing a beautiful scenery rangoli that captures the essence of nature using nothing but colored powders and creativity.
The theme of this rangoli is a peaceful landscape consisting of three main components: grass, water, and sky. Each element is brought to life using a carefully chosen palette of colors and shades. When combined with small natural elements such as birds, trees, or the sun, this rangoli becomes a visual treat.
Let’s dive into the world of color and nature to create a mesmerizing scenery rangoli.
Why Choose a Scenery Rangoli?
Scenery rangolis are not just beautiful—they’re meaningful. They represent the harmony of nature and reflect a connection to the environment. When you create a scene with grass, water, and sky, you’re not just decorating a space; you’re telling a story of tranquility, balance, and natural beauty.
Here’s why you should try it:
- Visually appealing: The natural gradation of shades in grass, water, and sky create a visually rich composition.
- Creative freedom: You can add birds, trees, clouds, sun, or even a small hut to personalize your scenery.
- Great for festivals and art competitions: It stands out as an innovative form of rangoli.
- Meditative experience: The process of creating scenic patterns encourages patience, attention to detail, and relaxation.
Materials You’ll Need
To start, gather the following materials:
- Rangoli colors in:
- Green shades: dark green, medium green, light green
- Yellow (for blending with grass)
- Blues: dark blue, sky blue, light blue
- Warm tones: red, orange, yellow (for the sky)
- A clean, flat surface
- White chalk or pencil for sketching outlines
- Sieve or fingers for smooth powder application
- Cotton buds or thin sticks for fine details
- Optional: stencil brushes or cardboard strips for even blending
Step-by-Step Instructions
1. Sketch the Outline
Start by lightly sketching your basic scenery layout with white chalk:
- Divide the space into three horizontal zones:
- Bottom Zone – Grass area
- Middle Zone – Water body (river, pond, or lake)
- Top Zone – Sky
- Add any natural elements you want: a sun setting on the horizon, birds flying across the sky, a tree near the water, or a distant hill.
This outline acts as a guide and helps you maintain balance and proportion throughout the rangoli.
2. Fill in the Grass Section
This part is the foundation of your rangoli.
- Begin with the darkest green shade at the bottom edge of the grass area.
- Gradually layer above it with medium green, then light green.
- Towards the top part of the grass, blend in yellow to mimic sunlight falling on grass blades.
- Use a sieve for a smooth gradient or softly blend using fingers.
- Use a cotton bud to draw individual grass lines in varying directions if you want a more detailed effect.
This mix of shades gives depth and realism to the grassy patch, making it look lush and lively.
3. Fill in the Water Body
Water reflects the calm of the scene. Its cool tones contrast beautifully with the warm sky.
- Start by placing dark blue at the bottom edge of the water section.
- As you move upward in the water area, blend sky blue, then light blue.
- If desired, draw small curved lines or ripples using white powder or the tip of a cotton bud.
- You can also add a reflection of the sun or surrounding elements on the water for added effect.
Make sure the transition between shades is smooth, mimicking the way light naturally plays on water surfaces.
4. Fill in the Sky
The sky can dramatically set the mood of the entire rangoli. We’ll use a sunset-inspired palette here.
- Begin at the top of the rangoli with deep red.
- Just below it, blend in orange, then yellow as you reach the horizon.
- For a soft transition, let the colors slightly overlap and blend naturally.
- Consider adding silhouettes: birds in flight, tree branches reaching into the sky, or a small glowing sun near the waterline.
The warm tones of the sky balance beautifully with the cooler blues and greens below, creating harmony in your design.
5. Add Natural Elements
Now that your base layers are done, it’s time to elevate your rangoli by adding natural details. Here are some ideas:
- Birds: Draw simple flying bird silhouettes using black or dark brown.
- Sun: Place a small bright yellow or white circle near the sky’s horizon and blend its edges with orange.
- Tree or plant: Sketch a simple tree shape and fill it in with dark green or brown. Add a few leaves using yellow or light green.
- Rocks near water: Small semi-circles in grey or brown can add dimension.
- Flowers or bushes in the grass: Dots or mini flower shapes using pink, red, or purple bring color and charm.
These final touches personalize the rangoli and make it unique. You can even add seasonal elements—for example, leaves in autumn colors or tiny butterflies in spring.
Tips for a Neat Finish
- Always start from the top (sky) and work your way down to avoid smudging previously done areas.
- Use thin brushes or earbuds for details and outlines.
- Keep a tissue or cloth handy to clean your fingers regularly.
- Work with patience, especially while blending colors.
- If you make a mistake, gently scrape off the area and redo it with fresh powder.
Making It Festival-Ready
This type of scenery rangoli is perfect for occasions like:
- Diwali: Pair it with diya placements around the border.
- Pongal or Makar Sankranti: Add motifs like flying kites or sugarcane.
- Earth Day or Environment Day: Emphasize the connection to nature.
- Competitions: The complexity and color gradation will impress judges.
You can also light up the edges using small tealights or LED candles to give your rangoli a magical glow during evening celebrations.
The Symbolism Behind the Scenery
Each part of the scenery rangoli represents deeper meanings:
- Grass and greenery: Symbolize growth, renewal, and life.
- Water: Represents purity, calm, and emotional depth.
- Sky: Signifies freedom, dreams, and possibilities.
- Colors: The shift from warm to cool tones shows balance—an essential element of life and nature.
By creating this rangoli, you are not only celebrating tradition but also expressing your love for nature and peace.
Conclusion
Drawing a scenery rangoli is a deeply satisfying creative process. It blends tradition with artistry and connects the creator to the beauty of the natural world. Using just colored powders and your imagination, you can turn a plain floor into a mesmerizing landscape filled with the warmth of the sun, the calm of flowing water, and the liveliness of grass.
Whether you’re preparing for a festive celebration or just exploring your artistic side, this step-by-step guide to scenery rangoli will help you craft something truly memorable. Remember, the most beautiful rangoli is one that reflects your passion, patience, and personal touch.
So get your colors ready and bring nature to life at your doorstep!
Related Post

Tulasi Vivah Rangoli
Significance of Tulsi Vivah: Tulsi Vivah, the ceremonial marriage of the Tulsi plant (holy basil) [...]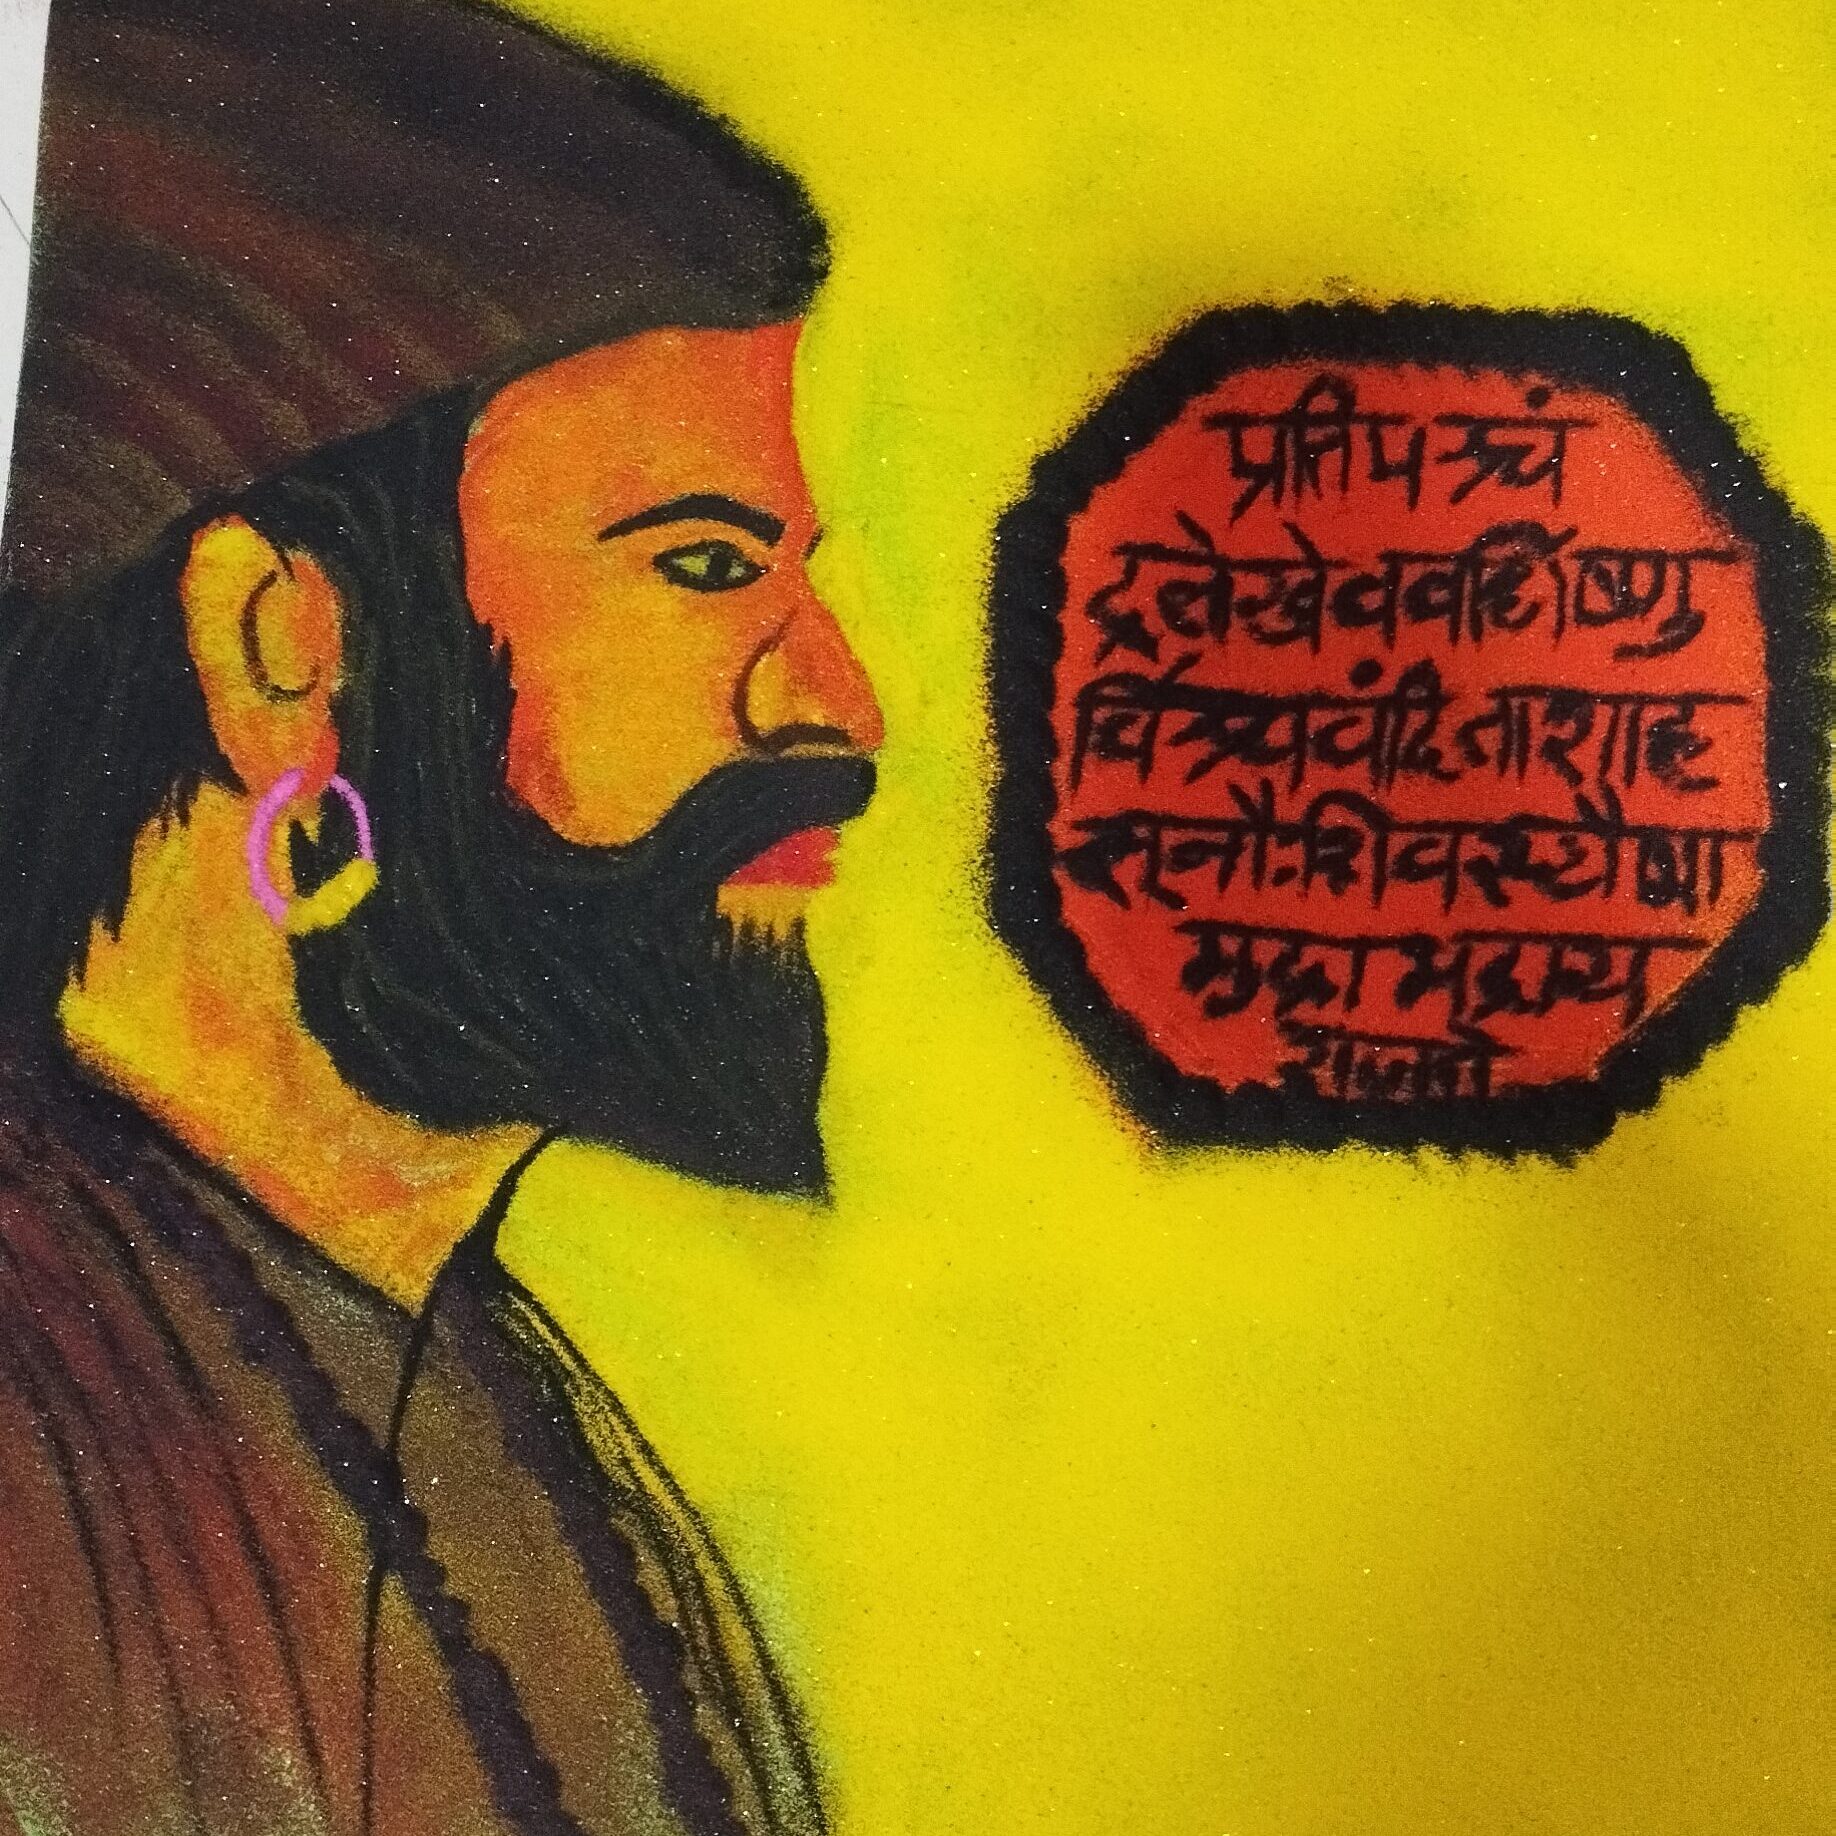
Chatrapati Shivaji Maharaj Rangoli
Drawing Chhatrapati Shivaji Maharaj Rangoli: A Tribute to the Great Maratha Warrior Chhatrapati Shivaji Maharaj, [...]